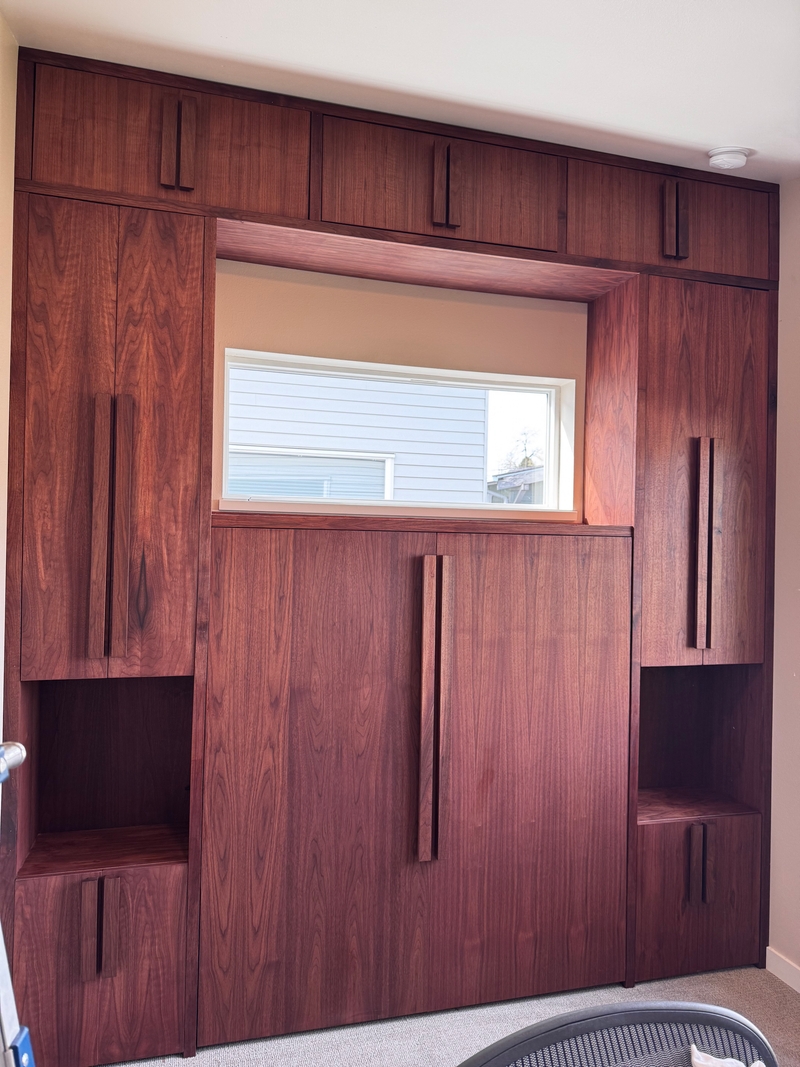
We want to make every square inch of our small place functional and special, so here's a few projects to that end.

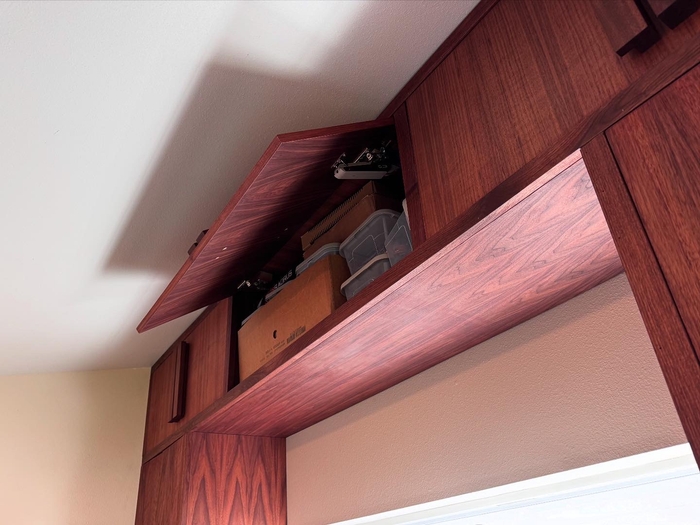
I made this murphy bed and the surrounding cabinets. The murphy bed hardware kit (struts, pivots and legs) came with plans, but I had to deviate from them because a queen mattress wouldn't fit upright without blocking the window.
I designed a relatively simple slide‑out mechanism: on each side of the bed there's a fixed outer side rail and an inner rail that slides out about 17 inches. Since the side rails carry the load of the bed like a joist, I needed to connect them together in the extended position.
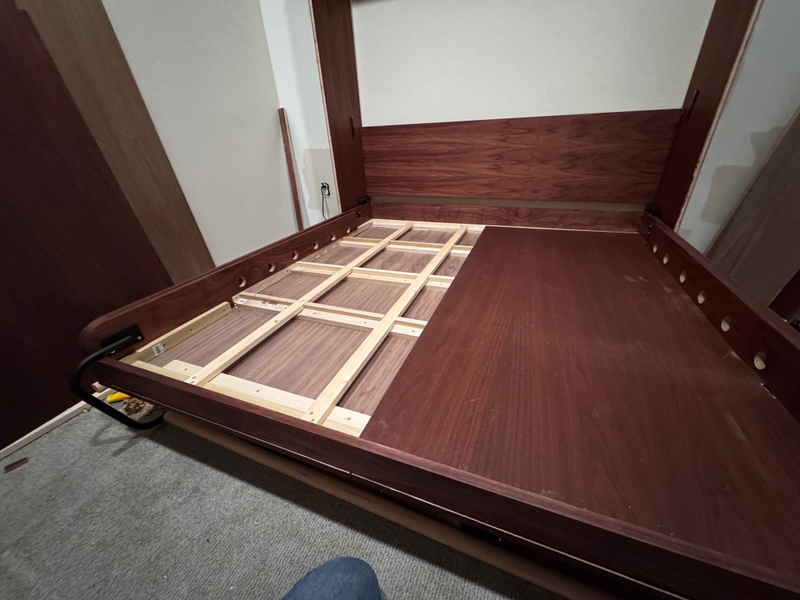
I drilled twelve 1.75 inch holes through both rails, then when the bed is extended I put short sections of a dowel rod into the holes. This keeps the two sections attached and lets them still perform like a joist should.
Another option was cutting a dado on the inner rail to slide along a tongue on the outer rail, but that required more precision than I was prepared for (I don't have a tablesaw or a router table), plus the tongue would need to be super strong.
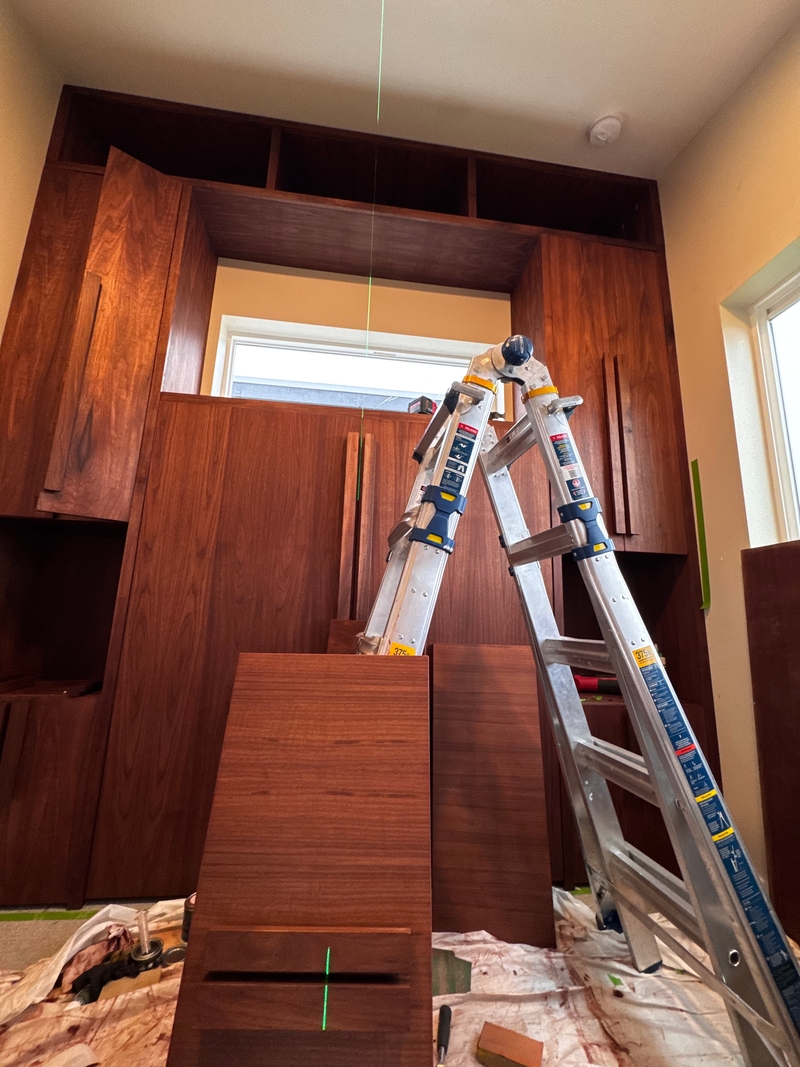
After some testing, I was happy with how strong it felt and moved on to the cabinets.
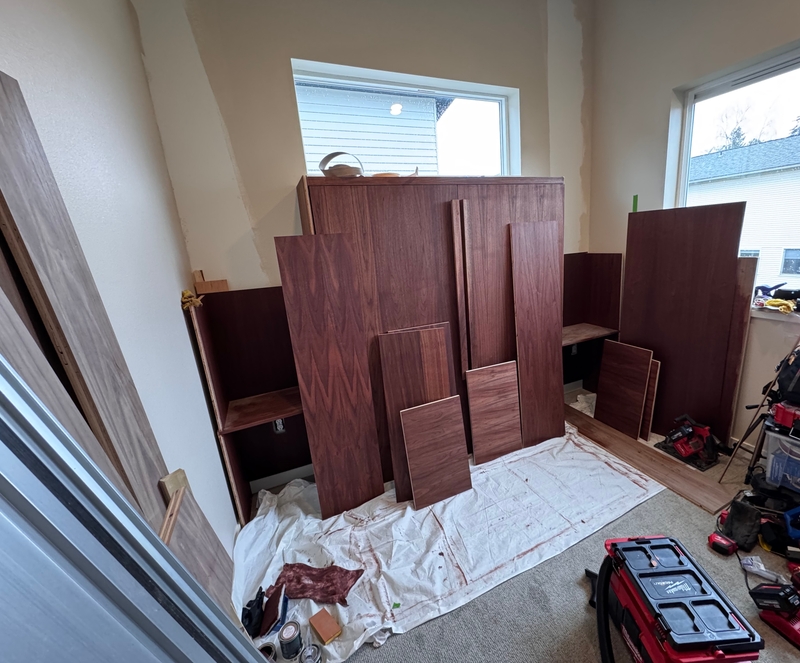
Not much room to work in!
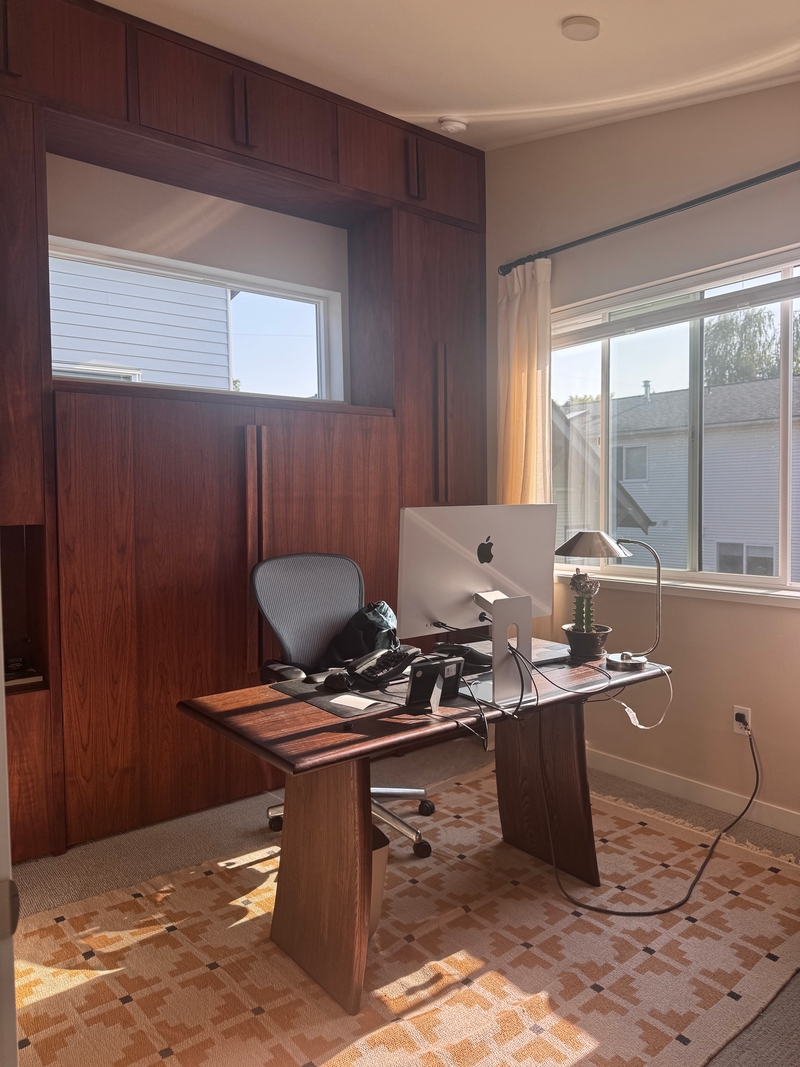
I prefer my desk to be in the middle of the room. As someone that uses wired peripherals (keyboard, mouse, etc.), this was another challenge — how do I minimize cable chaos?
I found this "underware" system, a set of customizable 3D models that let you route cables, store power bricks, etc. under the desk. I spent a week printing all the components I needed and assembled it. My solution wasn't pretty but I'm happy with how flush everything sits under the desk.
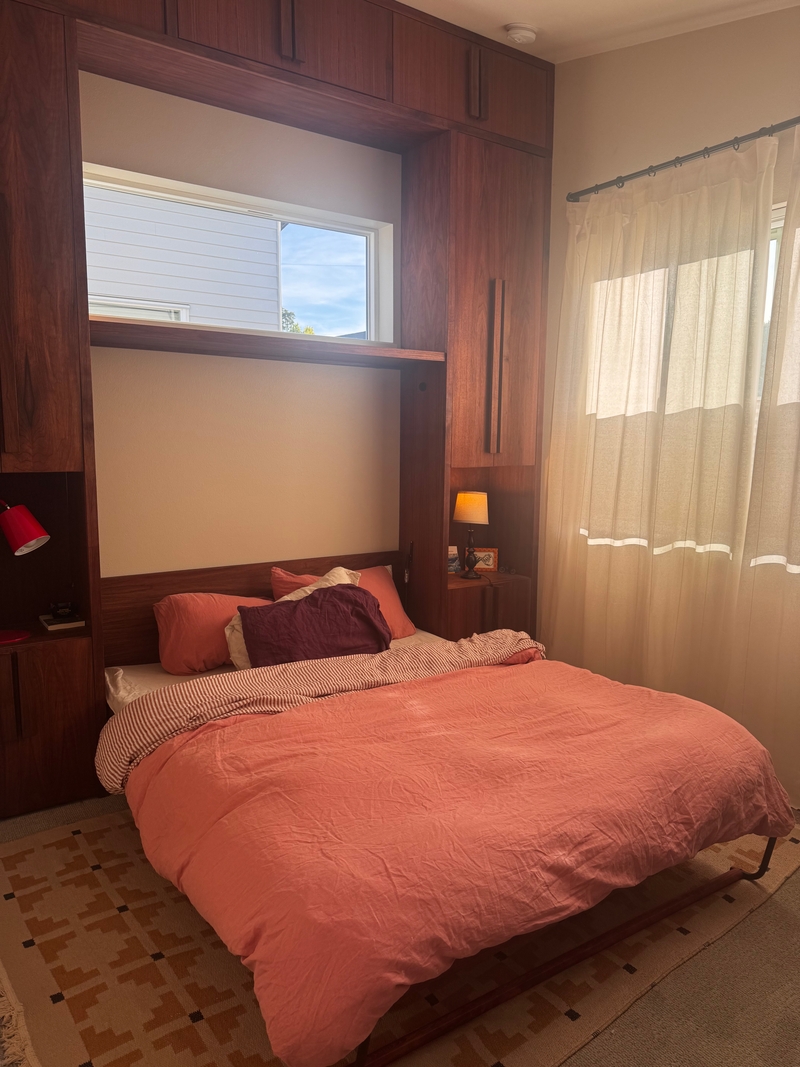
I built a three part folding mattress using some custom slabs of high quality foam. I cut the foam with a knife and stuffed it into a tri-fold mattress cover. When it's stored upright, one of the folds is simply doubled over.
The closet situation was dire:
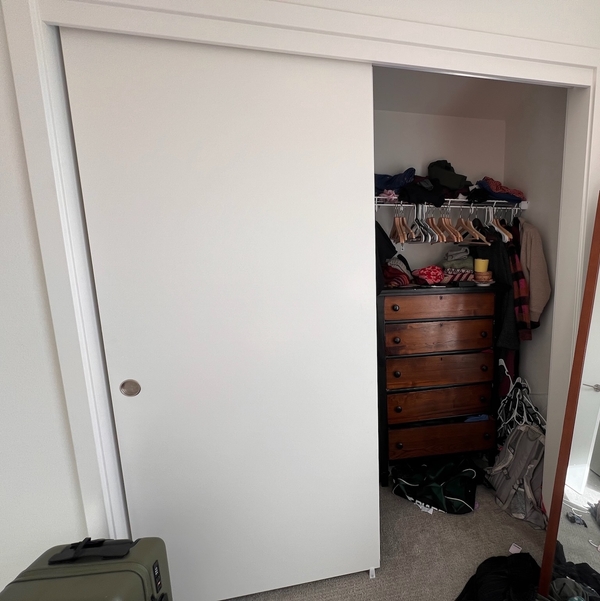
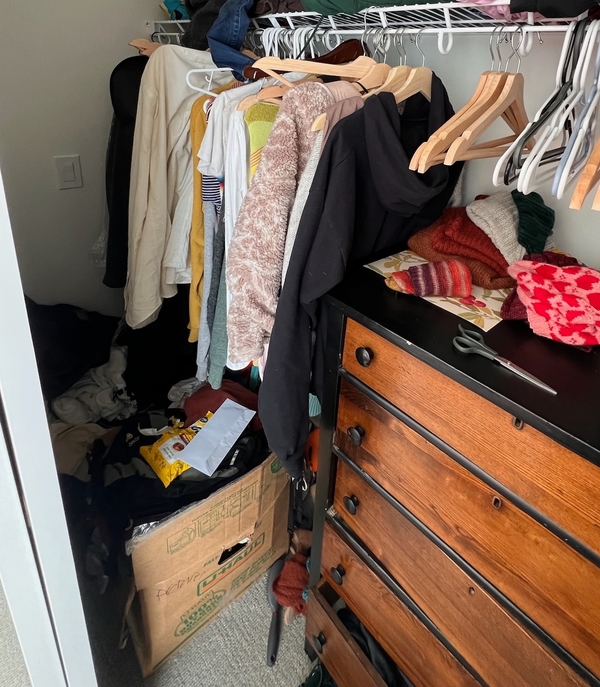
We knew we needed something that we would actually use, so I took off the annoying sliding doors and built a closet with more functionality.
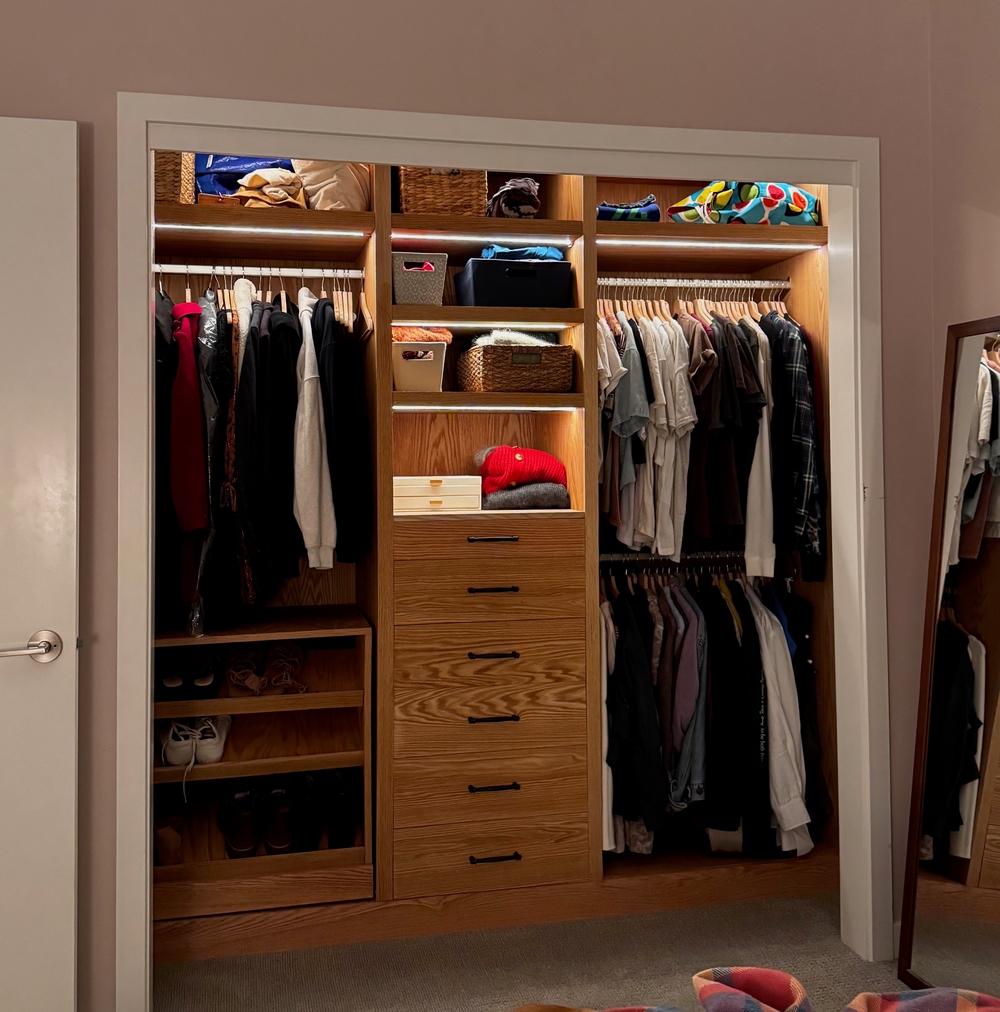
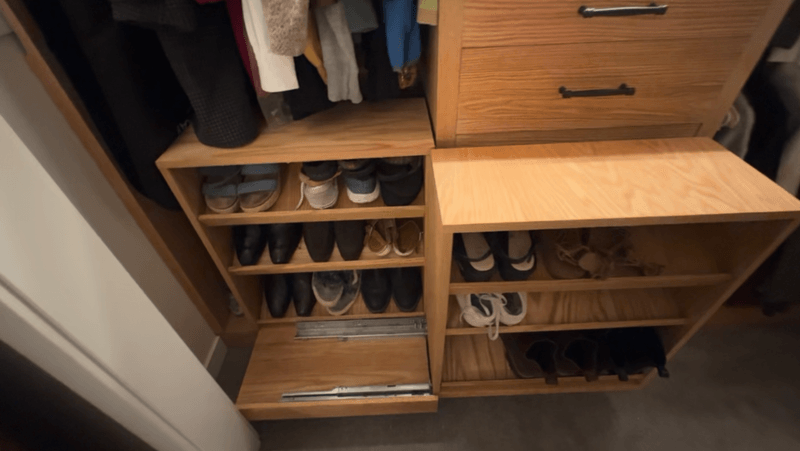
A fun feature: the shoe rack slides out and to the right to reveal yet another shoe rack.
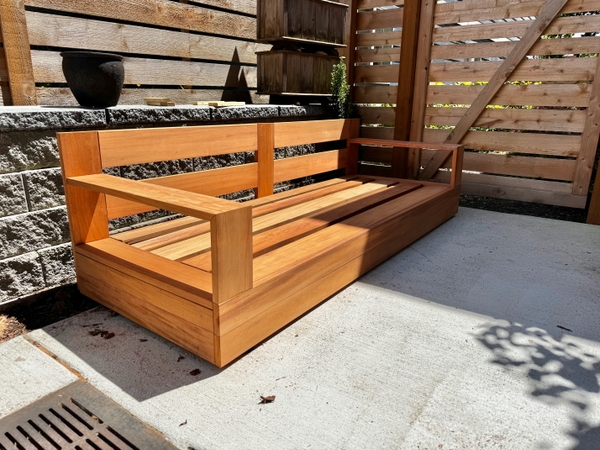
A lot of outdoor furniture feels kind of tacky, so for a few months we had nowhere to sit outside. I got inspired by the design of a teak outdoor sofa I saw online, which had a subtle hover effect and fit the vibe I was going for.
Teak was cost-prohibitive so I went with mahogany. It's a decent outdoor material and I love its color.
It is built around an internal frame with pressure-treated 2x8. All the mahogany fascia connects to the frame - this helped me create the subtle "floating" look. The vertical back supports are the only structural mahogany pieces. Since the only contact points with the ground are via the pressure-treated frame, I think it will last a long time.
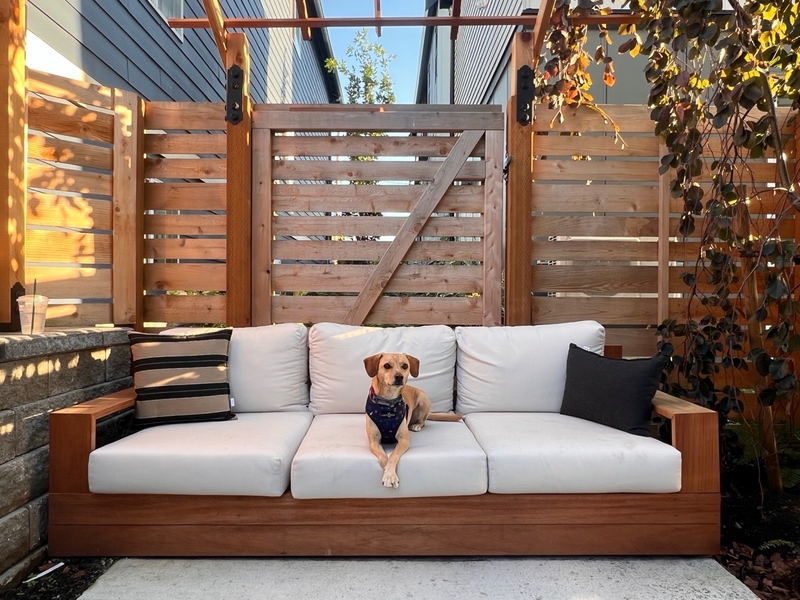
It doesn't shed water well with all the flat pieces. To avoid warping and algae, I cover it in the winter.
No garage means no place to put bikes. I decided to repurpose this 20 sq ft of ugly plants by the entrance as a storage box.
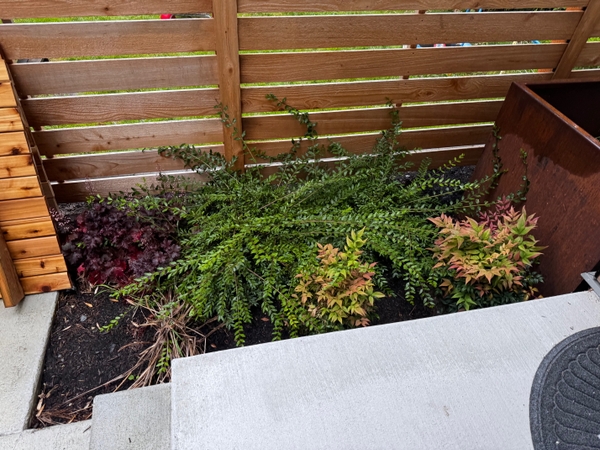
The challenge: I didn't want to lose the planting space. So I opted to build a "living" roof. I learned a lot about how these are made from cross sections of commercial projects I found online.
My approach:
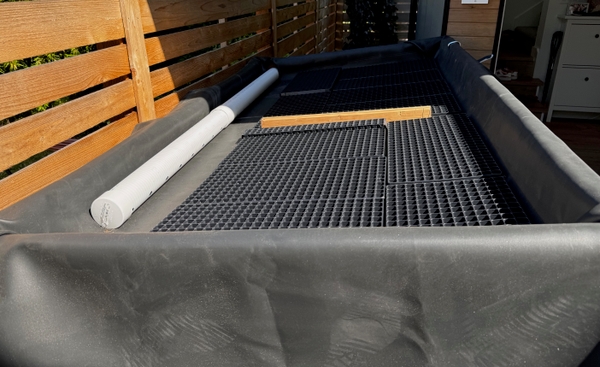
The drainage system consists of a french drain which empties into a catch basin (the same basin our roof's gutters empty into). The catch basins around our complex are all made of weathering steel which naturally rusts. I decided to match this aesthetic and added similar steel as trim. I normally wouldn't have used this material, but I think it was a good exercise in considering the context in which your piece lives. And I like that the steel will age beautifully alongside the cedar and the plants.
Since I wanted the door to be as big as possible for easy access, I overbuilt a cantilevered entrance with a small steel beam (the beam was unnecessary but fun).

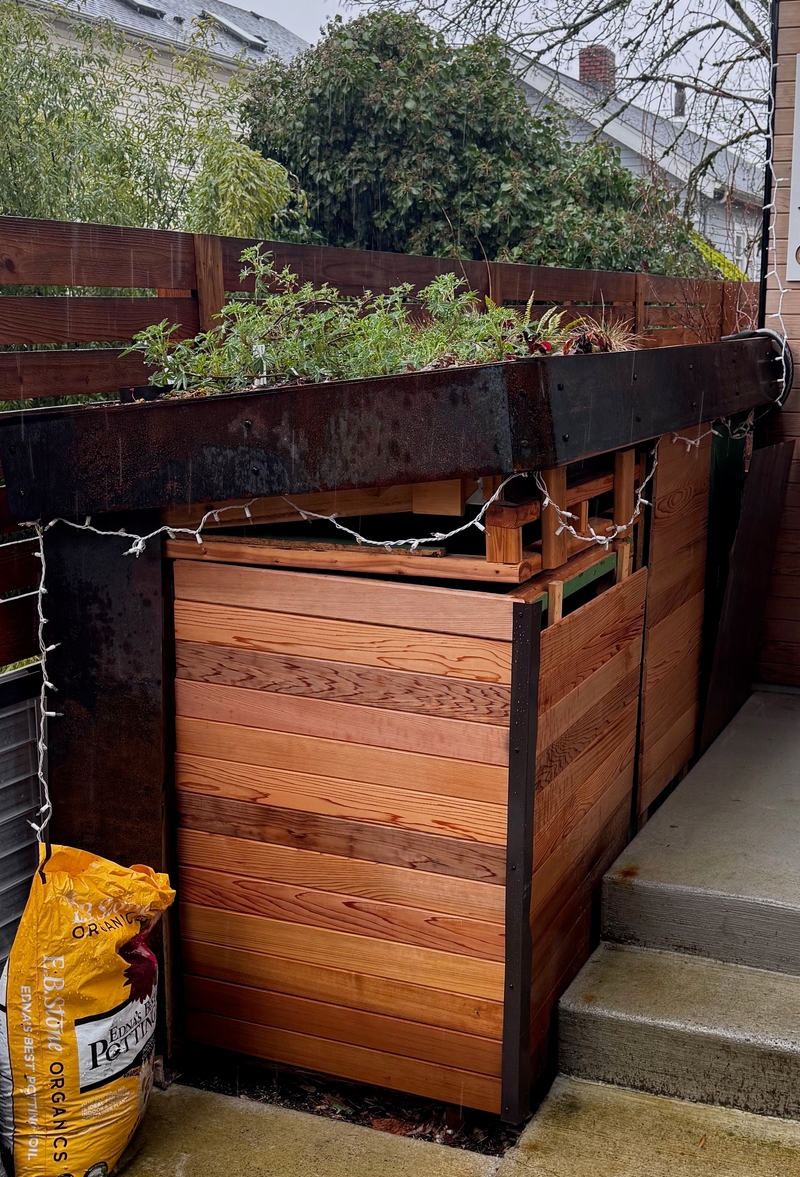
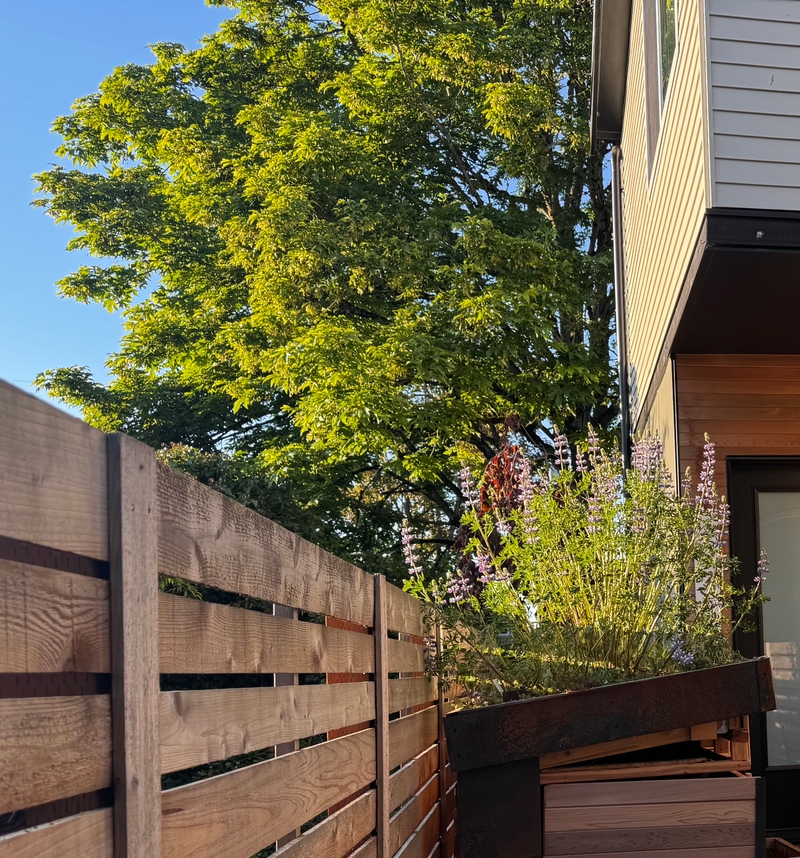
Clearly it's not quite finished - I slapped together a door for winter. Next I'm going to rebuild the door system, reorganize the inside and fix the siding.